Tuesday 22 October 2013

Tool Trug

The other day I went to a clients house to install a gate I'd built for her. Before I set off I ran through in my mind each stage of the task ahead and each tool I would need, dropping them into a plastic carrier bag as I went along. Now I do have tool boxes, lot's of them. One's for the car tools, one for "House" tasks etc, but none of them really suited my needs, like a lot of mass produced plastic tool cases.

As I left the house one look from the wife said it all, "The plastic bag had to go", it didn't look good and was a bind trying to find the right tool, I needed space to layout the tools and it needed to look individual, rough & ready. Step one was to layout the biggest tools I would need on a typical job.


It's not like I need to take the entire contents of the shed with me each trip, but I wanted it big enough to take my largest items which turned out to be my pull saw at about 420mm so that would be the length of the trug. Using the classic proportions of 1:1.63 I worked out I needed a width of about 260mm. I'd seen a few pictures of French trugs on the internet and liked the style of them, the sloping ends would making getting out little screws & hand tools easy. To determine this angle I just moved my bevel gauge until it looked about right, which turned out to be 115deg.


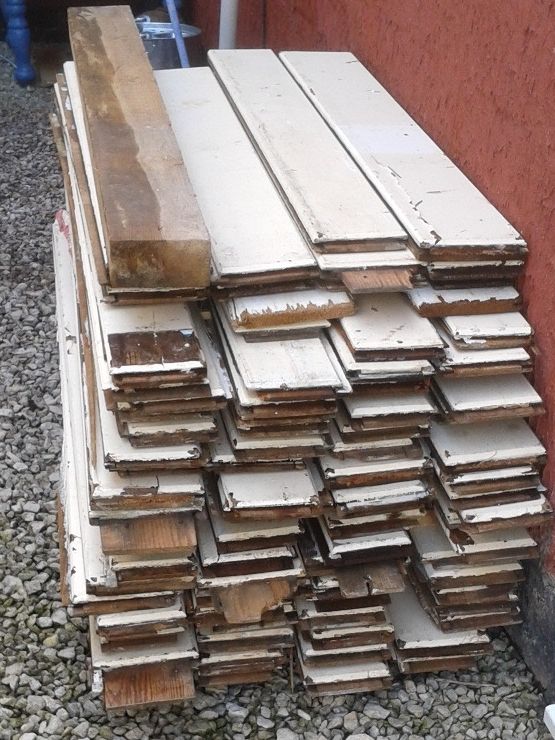
Next the wood. I had my eye on some thin pallet wood about 3 inches wide for sides and a sheet of thin ply for the base. Unfortunately the wood I had ear marked for the sides was split after about 8 inches so I needed to find some more. This isn't a problem, this is a challenge. This is what happens when you use pallet wood, you have to think on your toes and go with the flow and direction the wood available takes you. I had some inch thick pallet wood about 6 inches wide. This would provide the sturdy sides. The bevelled slope was marked and cut by hand at both ends. Accuracy wasn't too much of a problem as I now used this side to mark out the second side.


Next I found an old board that used to be a top to a chest of draws or something from Argos. It has been used as a writing board and about three shelves. I used the side to mark out the board and then roughed out where I wanted a handle. I have a problem with mass produced handles on mass produced kit boxes, they're too small for my massive giant like hands. So I used my hand to give me the dimensions for the hand slot. It worked out about 5 inches wide, but you could use your hand to get it right for you. Also curve it down to snugly fit the hand.

  
I wanted a nice curve to the handle so used a French curve to mark the first curve, once this was cut out using an electric jig saw I used the off cut to mark the curve on the other side. This made it easy to balance up the slops of the handle. The handle hole was cut with a hand drill to start and the power jig saw to cut out the handle and finished with a round Surform.  


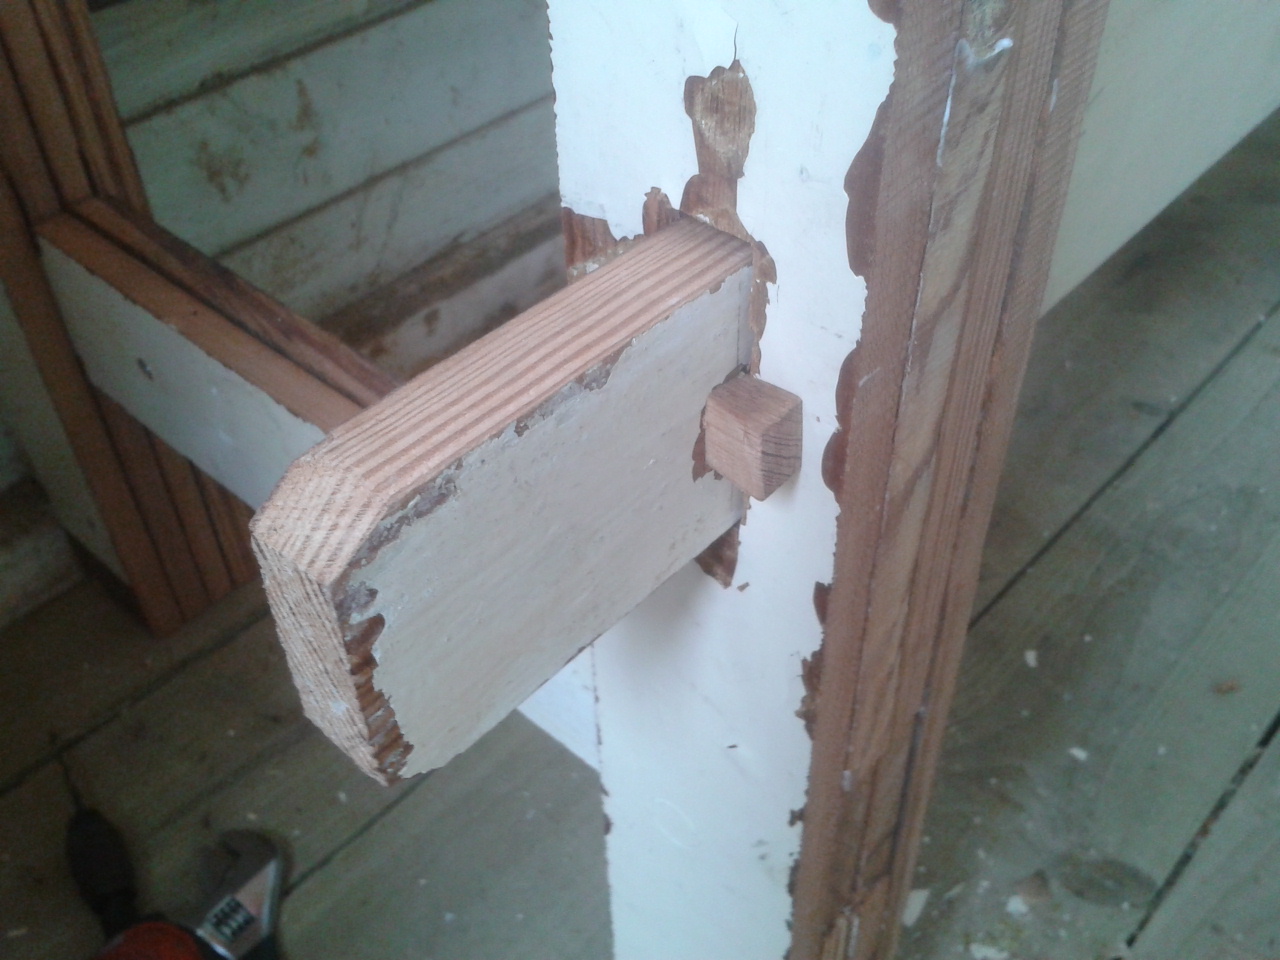
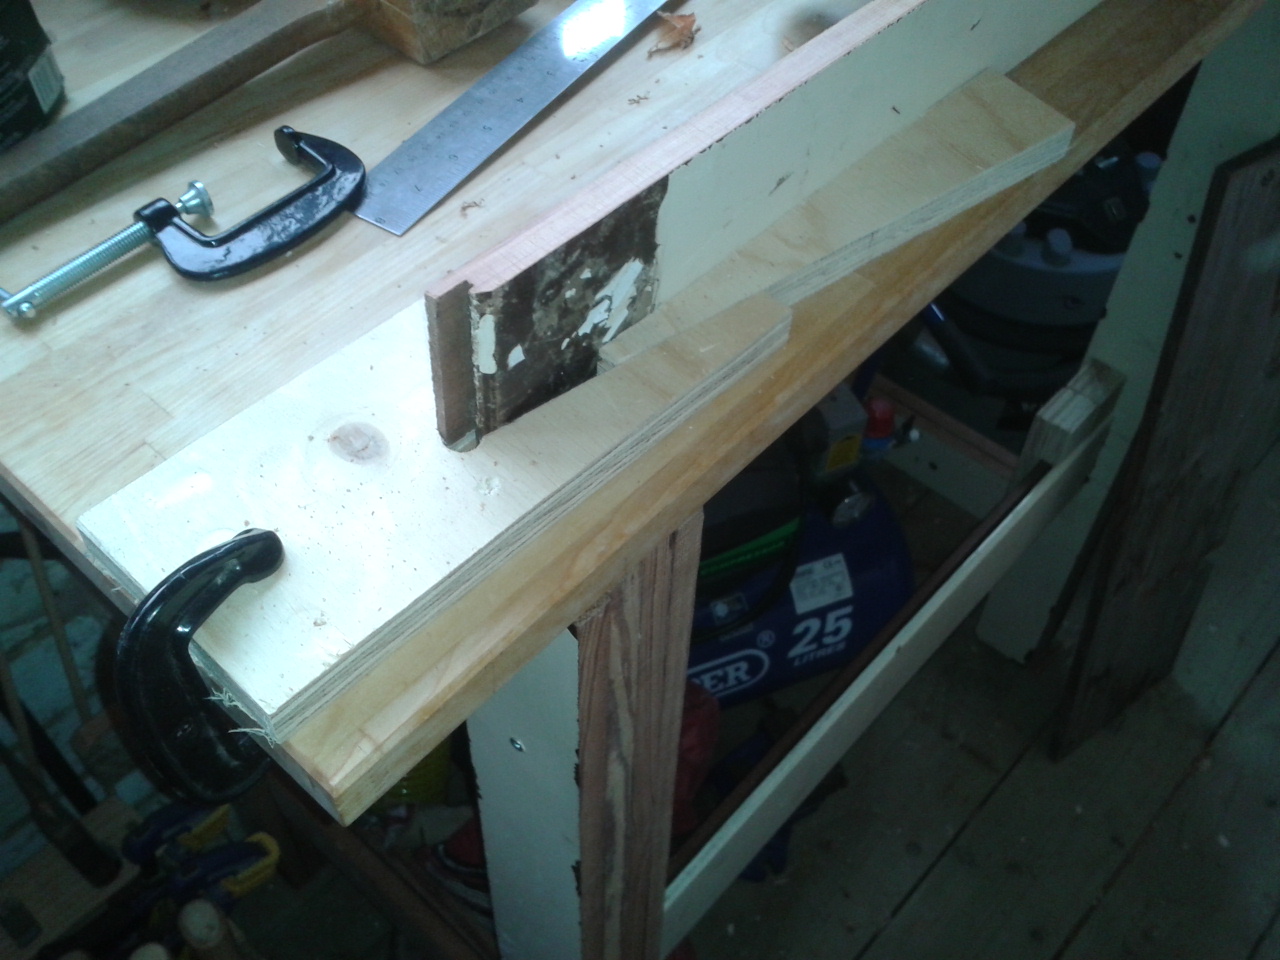
Now it was assembly time. I first the two out side boards were joined with some of the thinner strips of pallet wood by trusty glue and nail. This wasn't going to be a pretty item, no mitred dovetails here, but a functional rough and ready working tool box. Once the ends were nailed home I flipped it over and planed the side bars flat.


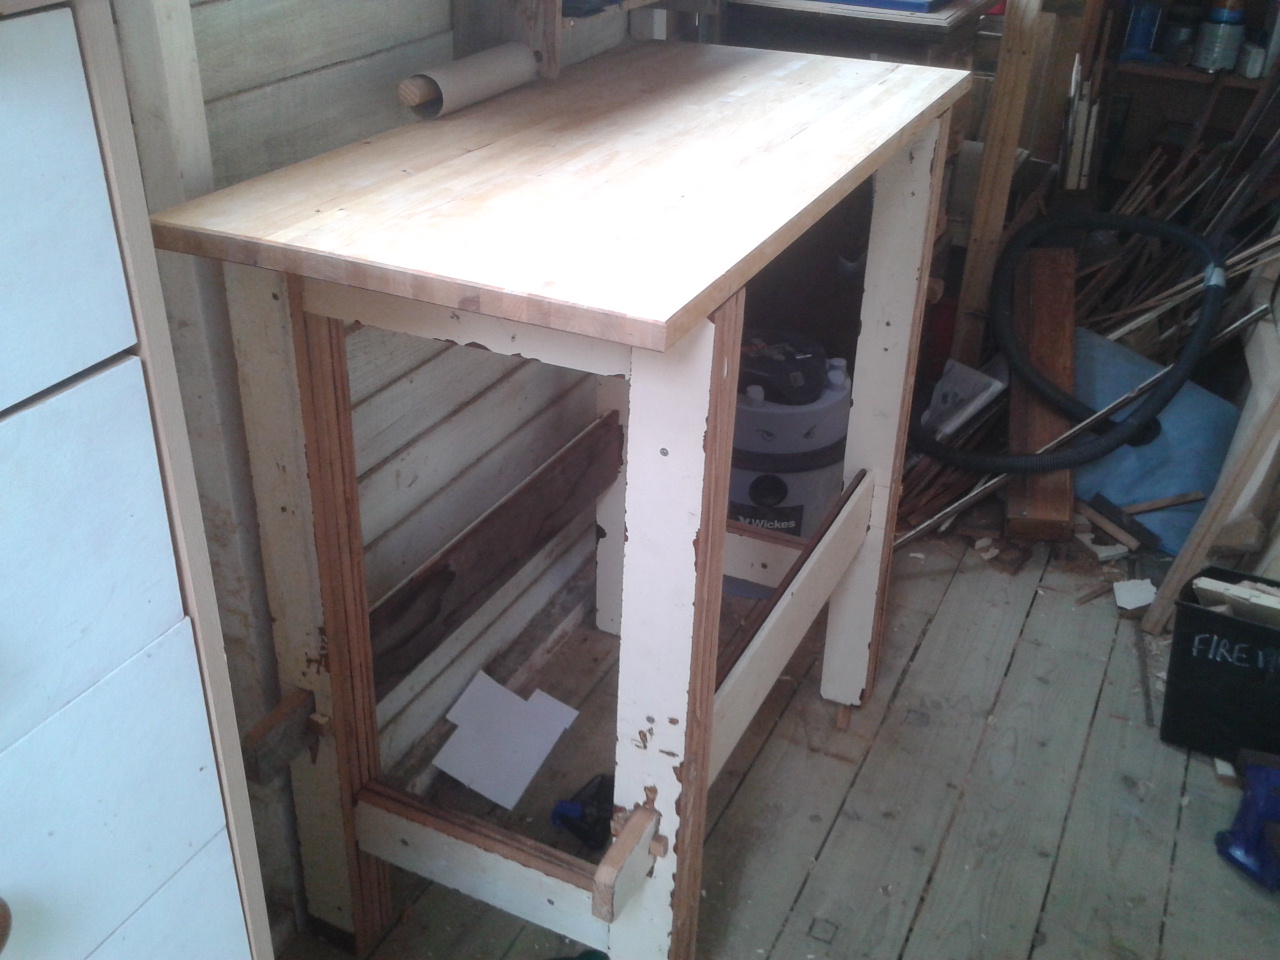
The centre handle section was glued and nailed into place, which sounds simple but was a bit of a juggle. Maybe next time I'll slap it into a vice. The Trug was then used to mark out a sheet of 3.6mm plywood which was cut out and glued & tacked into place. Et Voila, one completed tool trug.


Now I have a Shabby Chic tool tray to carry around my tools when I'm doing "Those little jobs" around the house, or more importantly, the clients house. Notice the front edge has a nice waney edge, that's the beauty of using pallet wood and I will hit it with some course sand paper and linseed oil to age it up a bit.


So why don't you try a pallet wood trug and let the wood take you to your own design.

Sunday 6 October 2013

Budget Shed Heater

It's getting cold. There's no getting away from the fact. The sun isn't getting as high in the day and there's more cloud to cover it.
So it's time to find an alternative to my electricity drinking heater.
I found a candle powered heater via Google on YouTube but it didn't seem to work too well. It worked ok but gave off too little heat.
Then I hit the mother load. I found a reprint of a World War 2 information leaflet which showed a similar heater using two flower pots and a candle to heat Anderson shelters.
You need two terracotta pots and a candle. Stand the larger pot on too wooden blocks. This is to keep the base hole clear. Put the candle in the lower pot and light. It's best to use a long reach lighter for this. Put the smaller pot on top upside down.
After a few minutes the pot was radiating some steady usable heat and a stream of hot air blowing out the top. The temperature of the air was reading 140°c out of the upper hole. After about half an hour I had a toasty shed and no massive electricity bill.
Now if I could just run my router from a candle........

Tuesday 13 August 2013

Secret Cover Up

When people get into wood working, sooner or later they find they've made an ever so tiny mistake they need to cover up.
Now there are several types of wood filler, plastic wood, super epoxy resin mixtures with dye kits to match your work piece but I'll tell you a little secret, you don't need them.
All you need is at your feet, the sawdust created by you making your last master piece. The advantage of this is the colour and texture matches the work piece. I always keep an old ice cream tub with some sawdust in from the vac or dust pan. I use a kitchen sieve to filter out all the big nasty lumps, we want it to look like fine wood, not chip board.
Next mix a small amount of sawdust with your favourite PVA wood glue, mix it thoroughly to a gloopy paste that feels tacky between the fingers and use it to block up those nasty holes and mistakes. You can dust over the gloop with a sprinkle of neat dust. Leave it overnight to dry and hit it with a fine sandpaper and you have a mistake covered up.
So save the sawdust, and save some cash.

Monday 5 August 2013

Workbench Workout

"Ask and it will be given to you, Seek and ye shall find"  goes the saying and I'm living proof. I like to seek out stuff in my area on Freegle and also found a group on Facebook offering free stuff for recycling. I hit gold on this site and found a nice stack of oak panelling left over from the court house refurbishment in the historic town of  Warwick. It was a nice find and I ended up with 100m of 20 to 25mm thick 3 or 4 inch wide panels. Sorry about the mix of units, but I'm English and that's how we roll sometimes.
Free Wood!
I'd been using a Workmate as my main workbench for some years and was finding it playing havoc on my back as it was way too low for my 6ft 4in stature. I had a design for my new bench from, of all things, a book (Remember books?) but wanted to get it right for me. I threw a question out on twitter and got some great responses from @Archerfurniture and @Torch02 so decided on a height of 900mm. If it turned out to be too high I could always chop the ends of the legs off, but if it was too low it would be a bugger to raise.
Below is a photo of the old setup.
The Old Workmate
The idea was to make up two leg sections which I could connect by some cross members held in by through tenons and wedges, then attach a worktop I'd had donated by a neighbour who had a recent kitchen refit. The oak panels were tongue and grooved with a layer of paint of dubious origin and lead content on one side and a rough sawn finish on the other. Due to this paint I wanted to keep disturbing this to a minimum. I used my trusty band saw to rip of the edges and get a uniform width. These strips where then glued and screwed into nice 70mm square posts for the legs. I also cut some through dovetails which where sandwiched in the layers. this gave me two solid leg units. They were heavy too!
Workbench legs
Now it was time to drill out and square off the slots for the tenons. The idea of using these joints was that I could lengthen or shorten the bench as time and space allows. The bench legs were put into position and locked up with the tenon wedges. When it was done it was solid.
wedged through tenon
The worktop was screwed on with simple brackets. The idea is to keep it removable in case I come across a bigger thicker top, but for now it will do.
worktop bracket
And that was it. I had a beautiful, functional ready for anything work bench.
New Bench
But what about a vice?
The original design had an apron along the front into which was a screw vice up one end. Most benchs I saw on the web had a setup like this. I could see the logic of it as the work would be clamped whilst the work was cut to size, but would it suit my needs. I scanned through a few old books on-line via Google books and spotted a really simple and neat idea for clamping work, a wedge clamp. This can be clamped on top of the bench to hold boards on edge for truing and for making tenons.
wedge clamp
It can also be clamped over the edge to take wider boards with the aid of a bench hook.
wedge camp & bench hook
Which brings me onto the bench hook design. I came across yet another video from Roy Underhill praising the simple bench hook although I went for a simpler design made from thick plywood glued and nailed. Using two thinner hooks about 2 inches wide means you can hold really long boards nice and steady for cutting.
bench hooks
The bench may be a little high but as I said above I can easily lower it. I will be making a Moxon vice which I can remove when not needed, that will be another blog entry.
So dear reader as you can see, you don't need to spend a fortune to get a really solid, useful bench.